Configuring the DJUST platform
Email alerts settings
Email addresses must be created before proceeding the account creation, otherwise you will not be able to receive the email to activate your account. As of now, you need to ask your solution consultant to create those email adresses, but soon you will be able to do it from the DJUST's back-office.
DJUST can be configured to send email alerts.
If using Mirakl, emails are triggered from Mirakl.
The following emails can be sent:
- Account creation validation
- Account creation request
- Quote refusal (supplier)
- First user creation on an account
- Message on order
- User creation on an existing account
- Order validation
- Quote validation
- Quote creation
- Message on quote
- Quote cancellation
- Password reset
- Quote update
- Quote validation (supplier)
- Order acceptance
- Order refusal
- Message on operator's quote
- New order
- Order confirmation
Emails can be customized:
-
Click Settings → General settings → Email template editor.
-
The list of templates appears. Click the edit button in the Action column to edit a template.
-
Select the target language for the email template.
-
(If in multistore) Select the storeView for the email templates to apply.
-
Enter a Subject (email's title).
Subjects are optional as each template contains default subjects. Also, variables are not supported.
-
Fill in Additional recipients (Cc or Bcc) if needed.
-
Use the right panel to create the email template. Refer to Unlayer's documentation for more information.
Use the Variables section to get the list of variables to help you build the email template.
Other Unlayer resources for templating
-
Click Save.
Users management
Internal users are operators of the DJUST back-office. Several levels of rights are available:
| Group | Description |
|---|---|
| Operator_Admin | Read, write and delete rights. |
| Operator_User | Read and write rights. |
| Operator_Reader | Read-only rights. |
Use the following procedure to add two users:
- One for the internal DJUST integrator,
- One for the client.
Both must be set as Admins.
Create new users
-
Click Settings → User management → Manage internal users. The
Manage internal users screen appears.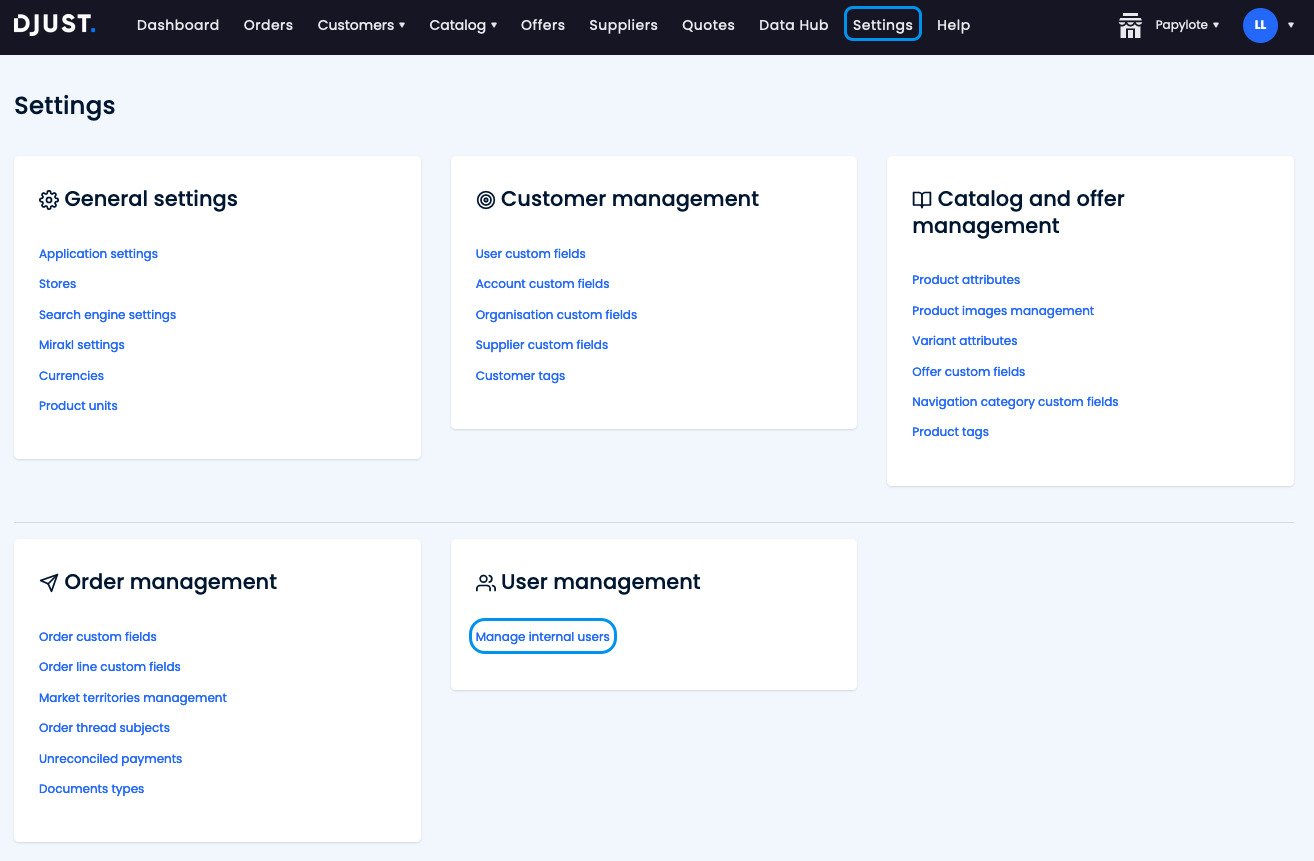
-
Click + Add User.

-
Fill in the following information:
-
Civility
-
First name
-
Last name
-
Email
DJUST does not recommend using
adminas First name or Last name. -
-
Click Create. The new internal user appears in the Manage internal users screen list.
-
Log out from the back-office, and follow the Forgot password? procedure to reset the password.
Log back in as the new user.
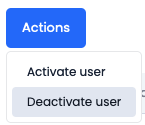
Deactivate the default user
-
From the Manage internal users screen, select the
[email protected]default account.
-
Click Actions and select Deactivate user.
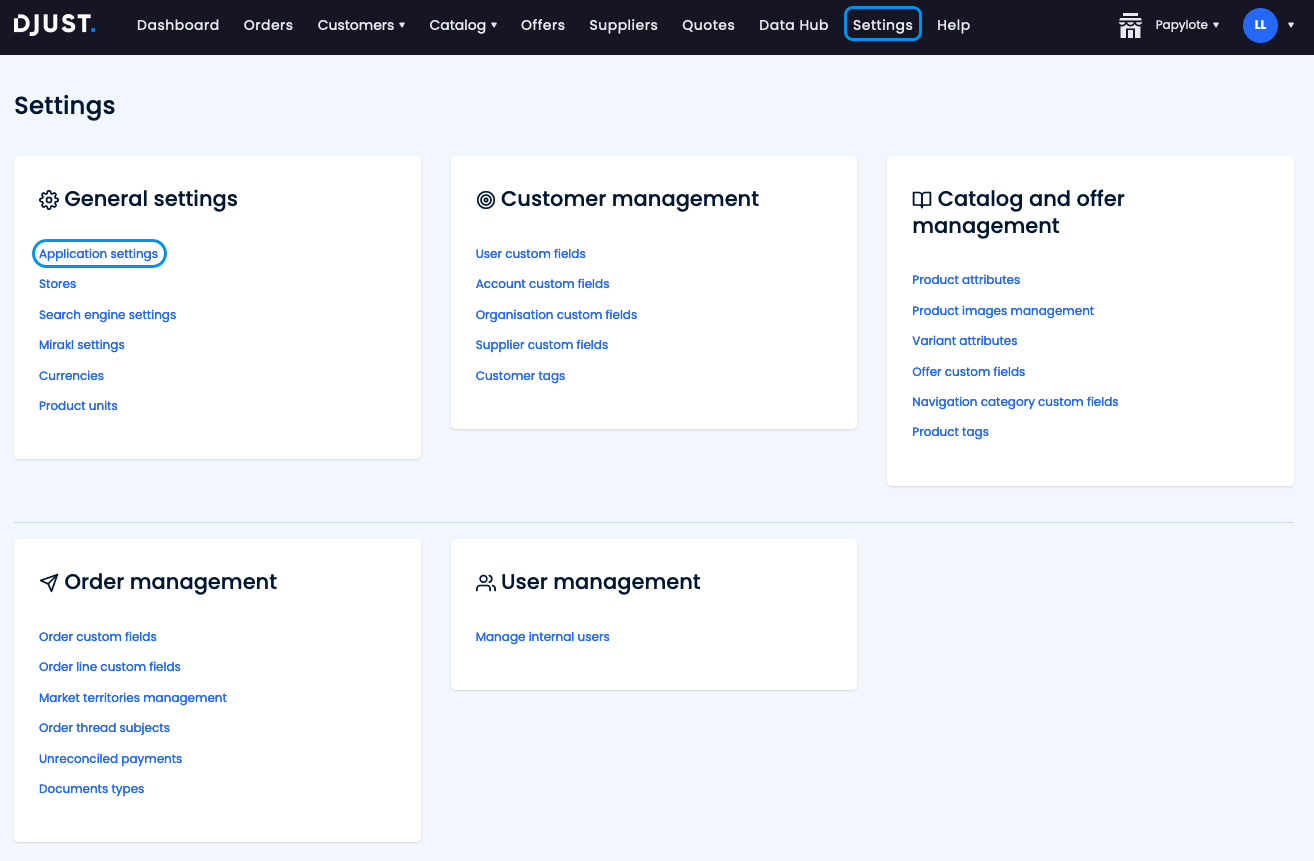
Application settings
Go to Settings → General settings → Application settings to configure your front-end.
The following options are available:
| Field | Description |
|---|---|
| Default locale | Default back-office language set during the DJUST platform creation. Each internal user can switch their own language through their personal settings. |
| Marketplace | Enables the multi-suppliers module. Slide the toggle switch active if selling products from multiple suppliers. Upon activation, automatically deactivates the E-commerce option. |
| E-commerce | Disables the multi-suppliers module. Slide the toggle switch active if selling products from the company or a single supplier. Upon activation, automatically deactivates the Marketplace option. |
| Customer account approval | Enables the manual approval of each customer account. Leave disabled to let customers freely create their account. |
| Round up rule | Rule to round up prices. Recommended if working with taxes. (Lower cent, Upper cent, Nearest cent) |
| Front office url | Endpoint for the front-end, appended with /auth/validation. |
| Specific prices for customers | Enables setting different prices for specific customer groups. |
| Manage order threads | Enables customers to report incidents or add a message to an order. |
| Unpriced offers allowed | Enables setting offers without a price. |
| Asssociation suppliers/customers allowed | Enables the association of customer account(s) to specific supplier(s). |
Click Save to apply the settings.

Language settings
Products, their attributes and variants can be configured in several languages. In DJUST, this parameter is called locales. Each product, attribute or variant is then available in different languages depending on the user's request.
Locales must not be mixed up with the back-office or store(s) language.
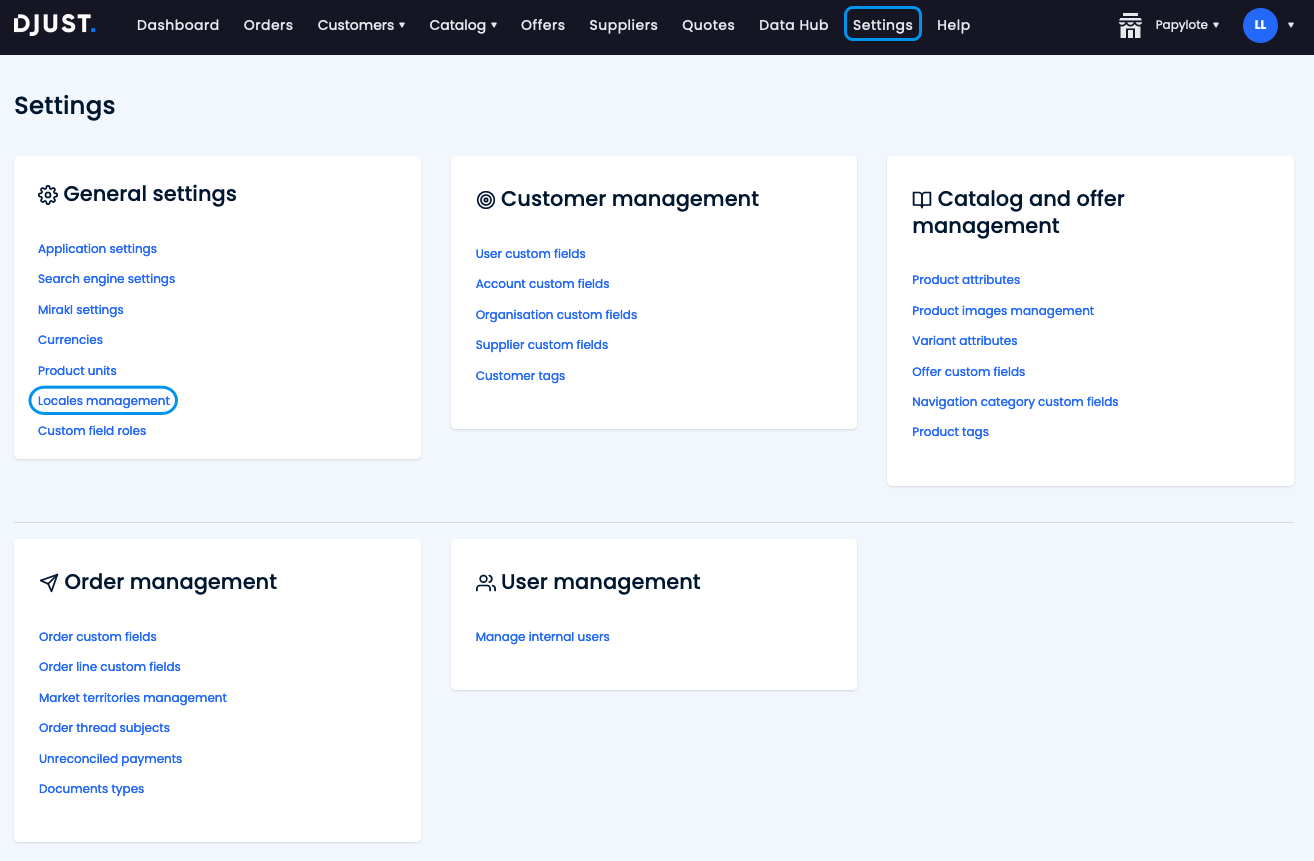
-
Click Settings → General settings → Locales management.
-
Click + Add locale.
-
Select the language you want to add.
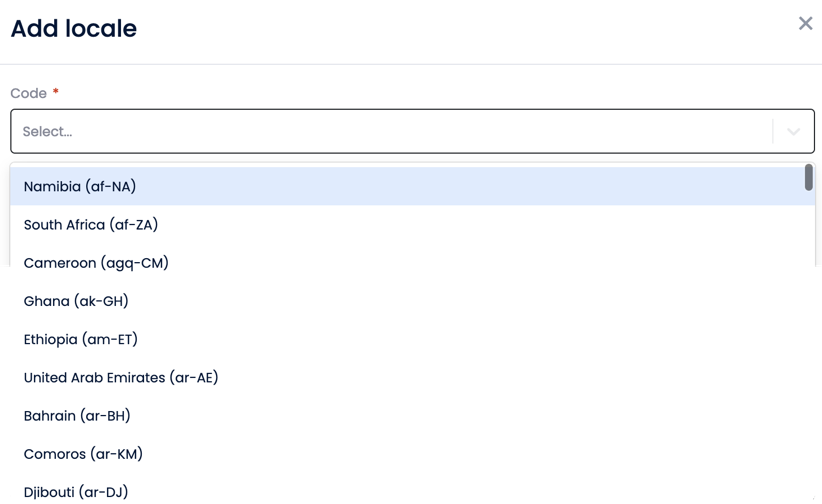
-
Click Create.
If you have multiple stores, locales are available for all of them.
Stores cannot be configured with specific languages.